In this tutorial, you will learn how to add links to page sections — anchors (bookmarks) — in the Webnode editor. This feature can be useful if you want to direct users to a specific section of your website directly from the menu, or if you want to create a one-page website.
In the navigation, an anchor looks just like a regular menu item, and the navigation appears the same on all pages of the website. By clicking on an anchor in the menu, you will be taken to the corresponding section from anywhere on the site.
TIP: If you wish to create a one-page website, you can simply delete all individual pages on the site (except for the homepage, which cannot be deleted) and then simply add links to the individual sections of the homepage.
Adding an anchor
1. In the editor, click on Pages.

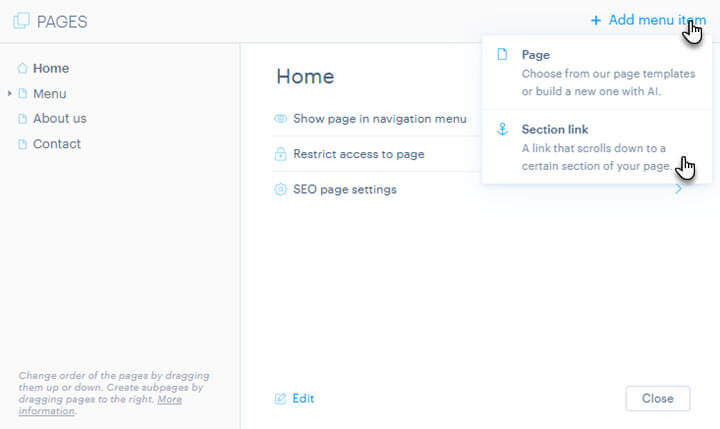
2. Then click on Add menu item and then on Section link.
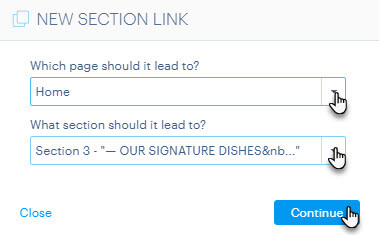
3. Here, select the page of the website the anchor relates to, as well as the section of the page the anchor will point to from the menu.
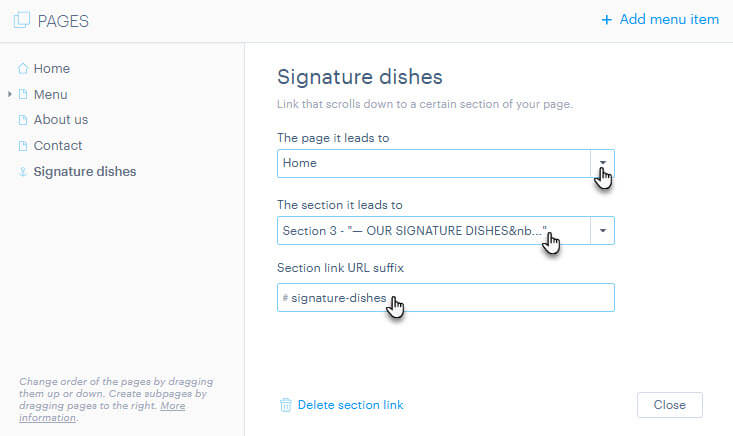
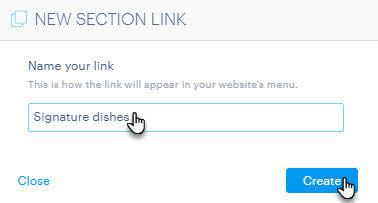
4. Name the link to the page section. For better clarity, we recommend naming the anchor after the section it links to.
5. And you're done. The link in the menu now points to a section of the website.
WARNING: If you delete or move the section that the anchor points to, the anchor will be automatically removed from the menu.
TIP: You can distinguish an anchor from regular pages by its icon. The order of anchors can be changed in the same way as with pages. More information can be found in the tutorial How to Reorder Pages in the Menu. It is also possible to place anchors as a subpage. You can also subsequently edit the anchor, its URL, as well as the associated page and section.